
Fire Signs
Find signs for fire hose reels, extinguishers, blankets, hydrants, alarms and fire doors. Choose a sign type or search by wording or product code, then compare the artwork, sizes and materials on the individual product page.
45 signs in this collection
45 results in this collection
Signs with combined messages can appear in more than one type.
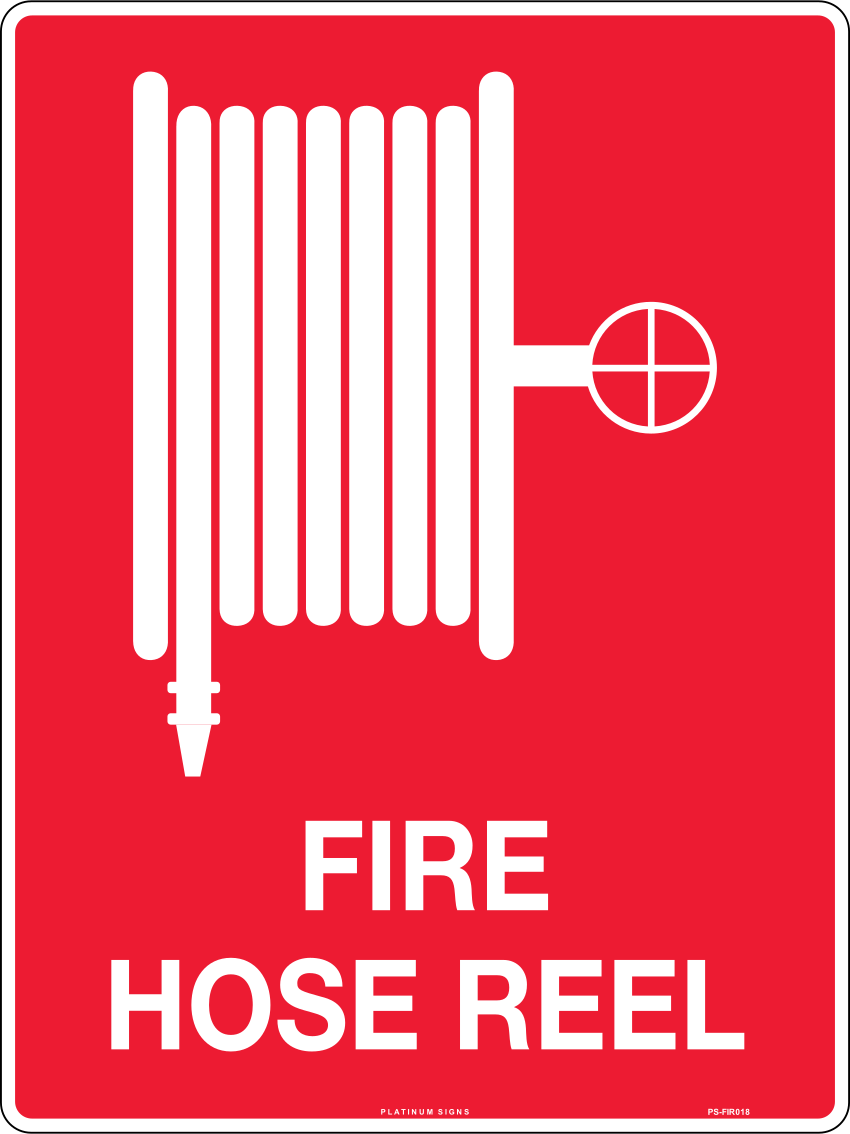
PS-FIR018
Fire Hose Reel Sign
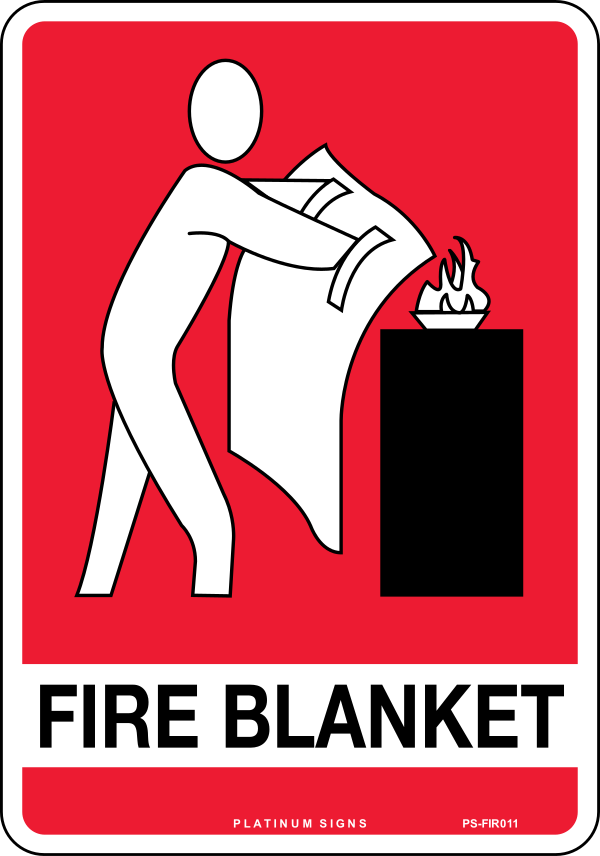
PS-FIR011
Fire Blanket Sign
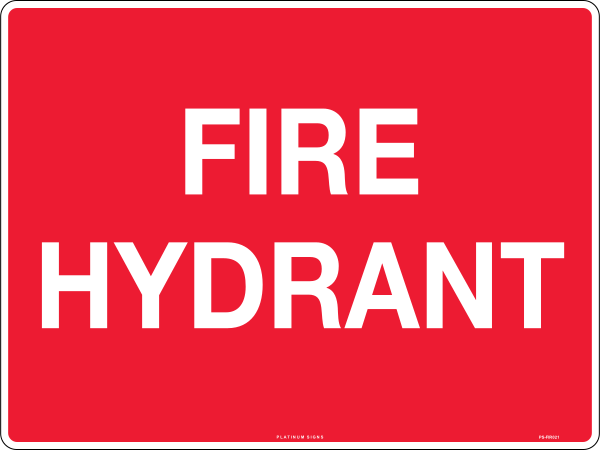
PS-FIR021
Fire Hydrant Sign
More fire signs (42)
Browse additional messages and specialist formats. Open a sign to check its details and available ordering options.
- Fire Extinguisher Projecting Sign
- Fire Hose Reel Location (Photoluminescent)
- Fire Extinguisher Location (Photoluminescent)
- Fire Alarm Call Point
- Fire Door Do Not Block
- Fire Brigade Block Plan (Custom)
- Re Smoke Door Do Not Obstruct
- Re Smoke Door Do Not Obstruct Do Not Keep Open
- Do Not Use Lifts If There Is a Fire
- Do Not Use This Stairway If There Is a Fire
- Notice Offences Relating to Fire Exits It Is an Offence Under the Environmental Planning
- Emergency Stop Sign
- Emergency Stop Type B
- Fire Alarm Type A
- Fire Alarm Type B
- Fire Door Do Not Obstruct Do Not Keep Open
- Fire Door Do Not Obstruct
- Water Fire Extinguisher
- Fire Hose Type A
- Fire Hose Reel Type A
- Fire Hose Reel Type B
- Fire Hose Reel Type C
- Fire Hydrant
- Fire Hydrant & Hose
- Fire Hydrant & Fire Hose
- Fire Hydrant & Hose Reel
- Fire Safety Door Do Not Obstruct
- Fire Safety Door Do Not Obstruct Do Not Keep Open
- Fire Wardens Are: Ph: Ph: Ph: Nearest Fire Extinguisher Is Located:
- Hydrant Booster Valve
- Smoke Door Do Not Block
- Sprinkler Booster Valve
- Fire Alarm Type C
- This Door Is for Emergency Use Only
- Fire Blanket
- This Extinguisher Unit No. Water to Be Used for Wood, Paper and Fabric Fires Only
- Dry Chemical Powder (ABE) Fire Extinguisher
- This Extingusher Unit No. Coz to Be Used for Flammable Liquid and Electrical Fires
- The Extingusher Unit No. Powder Ab(e) to Be Used for Timber, Fabrics, Liquids
- T Fire Extinguisher Type A
- This Extinguishen Unit No. Powder to Be Used for Oil, Liquid and Electrical Fires
- T Fire Extinguisher Type B
Fire sign buying guide
Help people find the right equipment
A useful fire sign answers a specific question: where is the hose reel, which cabinet holds the blanket, or which door must stay clear? Start with the equipment or instruction, then consider the approach, mounting surface and available space.
Use the guide to prepare an order for a single replacement or a building with several equipment locations. Keep a location list beside your selections so similar red signs do not get assigned to the wrong place.
Before you order ↓Fire equipment signs and exit signs have different jobs
Fire equipment identification uses white wording or symbols on red. Green emergency information signs identify facilities and exits. This distinction is explained in WorkSafe ACT’s signage guidance, which summarises AS 1319 for workplace safety signs.
If you need to mark an extinguisher, hose reel, blanket or hydrant, start with the matching equipment name in this collection. For escape-route identification, browse fire exit signs. For assembly locations and other emergency facilities, use the emergency signs collection.
Read the whole message before choosing. A notice restricting use of a lift during a fire, a fire-door instruction and an equipment-location sign serve different purposes even when they appear together in a catalogue.
Match the wording and symbol to the equipment
Use the Fire Hose Reel Sign, PS-FIR018, for the pictured hose-reel identification design. Its artwork has a hose-reel symbol and wording, without a direction arrow. A Fire Blanket Sign identifies a different item; it should not stand in for the reel sign because both happen to be red.
For hydrants, compare the Fire Hydrant Sign with any combined hydrant-and-hose wording specified for the site. Photograph the equipment label when preparing your order. That gives the person selecting signs something more precise than a room name or a description such as “the red cabinet”.
Extinguisher location markers and extinguisher-type instructions also need separate attention. Fire and Rescue NSW advises businesses to provide signage that helps people locate equipment and recognise the fire types for which it is suitable. Equipment selection and staff training remain part of the workplace arrangements. See its small business fire safety guidance.
Check door, alarm and combined messages carefully
“Fire Door Do Not Block” and “Do Not Keep Open” are different instructions. Compare the requested wording with the door’s purpose and the building’s fire-safety documentation. When replacing an old notice, confirm the message with the person responsible for the building instead of assuming the existing sign is correct.
For an alarm location, check whether the instruction refers to a call point or another identified control. For combined signs, confirm every named item is present at the indicated location. One convenient panel can otherwise point to equipment that is somewhere else.
A brigade block plan or a notice containing local statutory wording needs its own content check. Send the applicable plan or approved wording with an enquiry; a generic equipment sign cannot supply that site-specific information.
Choose the material around the mounting position
Open the individual product to see its material and size combinations. The Hose Reel Sign offers solid polypropylene, Colorbond steel, Corflute and self-adhesive vinyl. Other designs may have different choices, so use that listing’s controls when specifying a mixed order.
- Polypropylene: a lightweight rigid face. Consider how the panel will be supported on the wall, board or holder.
- Colorbond steel: a coated steel panel. Include the supporting surface and proposed mechanical fixings in your installation plan.
- Corflute: a lightweight fluted panel. The Hose Reel listing describes this option for supported temporary identification.
- Self-adhesive vinyl: a label for a compatible prepared backing. Check the surface condition before choosing adhesive mounting.
For outdoor exposure, wash-down areas or chemical contact, describe those conditions when asking for a recommendation. Check any required holes, brackets or backing separately. A material name does not tell you which installation accessories come with the sign.
Select dimensions for the real viewing position
Measure the space, then look at it from the route people actually take. Record whether the sign will be viewed straight on, from across a room or along a corridor. Note nearby notices, open doors and shelving that could compete with or interrupt the view.
On PS-FIR018, the adhesive option is 180 × 240 mm. Rigid options are 225 × 300 mm, 300 × 450 mm and 400 × 600 mm. These are width × height measurements for that design; do not carry them across to every product in the collection.
WorkSafe ACT explains that AS 1319 does not prescribe a particular material or nominal sign size. Its guidance relates visibility to viewing distance, lighting and the surroundings. Check these factors together rather than treating the smallest available panel as the default specification.
Position signs within the workplace’s fire arrangements
Walk the approach with your location list before placing the order. If equipment sits inside an enclosure, note the enclosure name and which surface is available for a sign. If it is around a corner, ask whether a separate directional sign is specified; an identification panel without an arrow does not describe the turn.
Fire and Rescue NSW recommends keeping extinguishers conspicuous and accessible and keeping exits clear. Plan the sign alongside that access, so adding identification does not cover handles or the equipment’s own instructions.
Connect the signs with the site’s emergency plan. Safe Work Australia’s emergency-plan guidance covers procedures, training, testing and communication, with maps and equipment locations among the information a plan may include. The required arrangements depend on the workplace; buying a printed sign does not establish that the entire building complies.
Keep identification accurate after installation
Add the sign location, product code, material and dimensions to your replacement list. A close photograph records the message, while a wider photograph records where the sign belongs. This helps avoid ordering the right design for the wrong equipment point.
WorkSafe ACT recommends keeping signs clean, illuminated and unobstructed. Check their visibility after furniture or storage changes, and replace damaged or unreadable faces. Safe Work Australia also recommends reviewing emergency plans when workplace circumstances change. Include sign locations in that review where the equipment or layout has moved.
Prepare a sign schedule for several rooms or floors
Work through the building by level and area, giving each equipment point a location reference. For example, “Level 1, east corridor, hose cabinet” is more useful on a delivery list than “hose sign”. Record the equipment name separately from the sign wording, then add the dimensions, material and quantity you intend to order.
For each point, take one photograph of the equipment and another from the approach. Note whether the proposed face sits on a cabinet, beside it or on a nearby wall. Record any obstruction that needs attention. Keep questions about a missing label, unfamiliar control or changed equipment location on the same list for the building manager to resolve.
Group matching configurations only after checking those locations. Two rooms may need the same hose-reel design but different panel sizes because their available wall space differs. A quantity of ten identical signs is a different order from ten signs with several messages and formats.
When the signs arrive, check each face against the schedule before distributing them to installers. Keep location references on the packaging or delivery list rather than adding them to the printed safety message. This gives the installer a clear allocation and leaves you with a useful record for the next replacement order.
Common ordering questions
Does every red fire sign glow in the dark?
No. Colour alone does not establish photoluminescent performance. PS-FIR018 is described as non-reflective equipment identification. If a glow-in-the-dark product is specified, compare the separate photoluminescent signs and check that product’s specification. Do not substitute ordinary printed material for a specified luminous product.
Can I order several messages together?
Prepare one line for each design, recording its code, size, material, quantity and intended location. Select the available configuration on each product page. For a larger schedule or wording that is not shown, contact Platinum Signs with the list and photographs so the details can be checked before ordering.
Does the sign include the equipment pictured?
These products are signs identifying equipment or communicating an instruction. For example, the Hose Reel Sign supplies the selected printed face; the reel, cabinet and mounting hardware are separate. Read the individual listing’s included items before placing an order.
Before you order
Check the exact message against the equipment or door. Confirm the location and approach, measure the available space, select the offered material and size, and record the quantity for each position. Check fixing requirements separately. Review the configured price and delivery details before payment, and retain your sign schedule for future replacements.